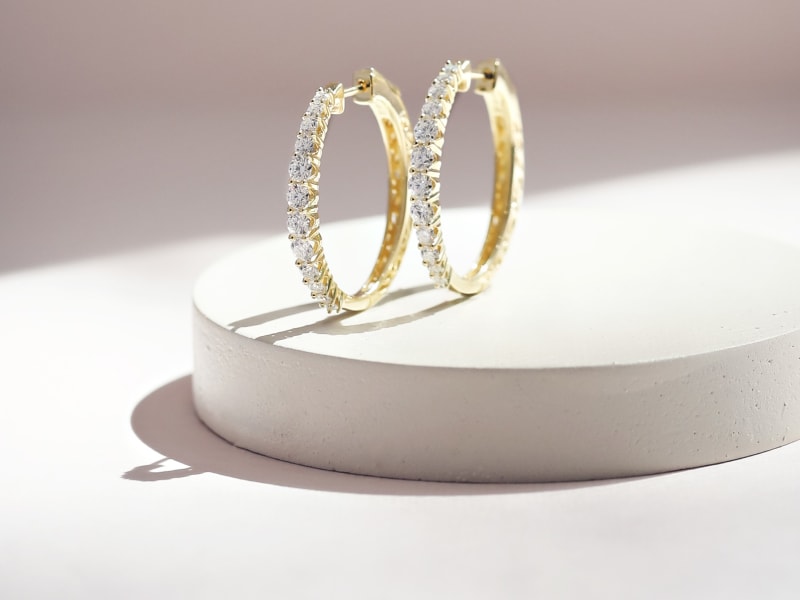
Learn how to fix an earring clasp at home with the help of JTV's Jewelry Repair Series. Our host, John Brooks, is a skilled jeweler at JTV, and he will guide you in today's lesson on fixing a huggie earring back that just won't catch anymore.
How to Repair a Huggie Earring Back - Video
An earring clasp that won’t connect is a common issue that can happen with wear, especially with huggie-style earrings like in our video guide. These earrings are hinged at the bottom, designed to snugly embrace your ear. However, over time, the post can lose its memory due to continuous opening and closing.
Memory, as you may know, is a metal’s ability to return to its normal state when flexed or bent. Unfortunately, in this case, the post has lost its memory, and it's no longer catching. If you inspect closely, you'll notice a notch on the end of the post that should catch onto the female end under the lip. However, due to frequent opening and closing, it's not catching anymore.
Tools to fix a huggie-style earring
There are only a few simple items you’ll need for this job:
- A needle-nosed plier
- A damaged huggie-style earring
- A little muscle and determination
Restoring Memory to Your Huggie Earring Post
The good news is that this is a simple fix, and you can do it at home with just a pair of needle-nose pliers. Alternatively, you might even be able to achieve this with your thumb. Here's what you need to do.
- Take your needle-nose pliers and gently pry up ever so slightly on the post.
- If you prefer, you can use your thumb to apply gentle pressure to tweak the post back into place.
- With a little time and effort, you'll feel it snap right back into position.
Be sure to watch our video above as a visual reference. Our host, John Brooks, does a terrific job at demonstrating how to correct your huggie-style earrings. For more valuable tips on jewelry care and repair, make sure to stay connected with JTV's channel.
If you’re looking for a guide on fixing hoop earrings, check out our video and written guide below.


